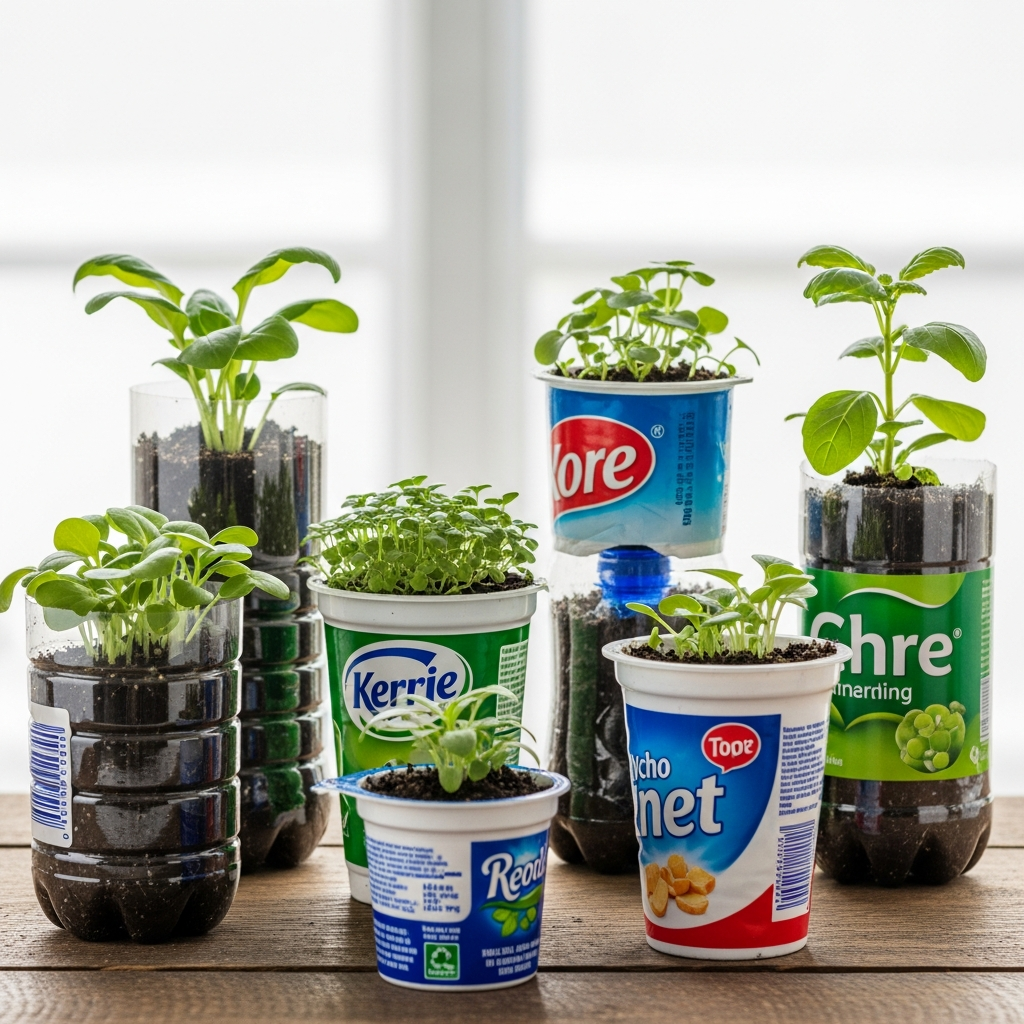
Plastic containers are everywhere—food tubs, bottles, buckets, and jars often end up in the trash after a single use. With a little creativity, these everyday items can be transformed into stylish, functional planters that bring life to your home or garden. DIY plastic container planters are affordable, eco-friendly, and perfect for beginners.
In this blog post, we’ll explore why plastic container planters are a great idea, what materials you’ll need, and step-by-step instructions to create your own.
Why Use Plastic Containers as Planters?
1. Eco-friendly choice
Reusing plastic containers helps reduce waste and keeps plastic out of landfills.
2. Budget-friendly
No need to buy expensive pots—most materials are already in your kitchen.
3. Lightweight and versatile
Plastic planters are easy to move and ideal for balconies, windowsills, and indoor spaces.
4. Customizable
You can paint, cut, and decorate them to match your style.
Materials You’ll Need
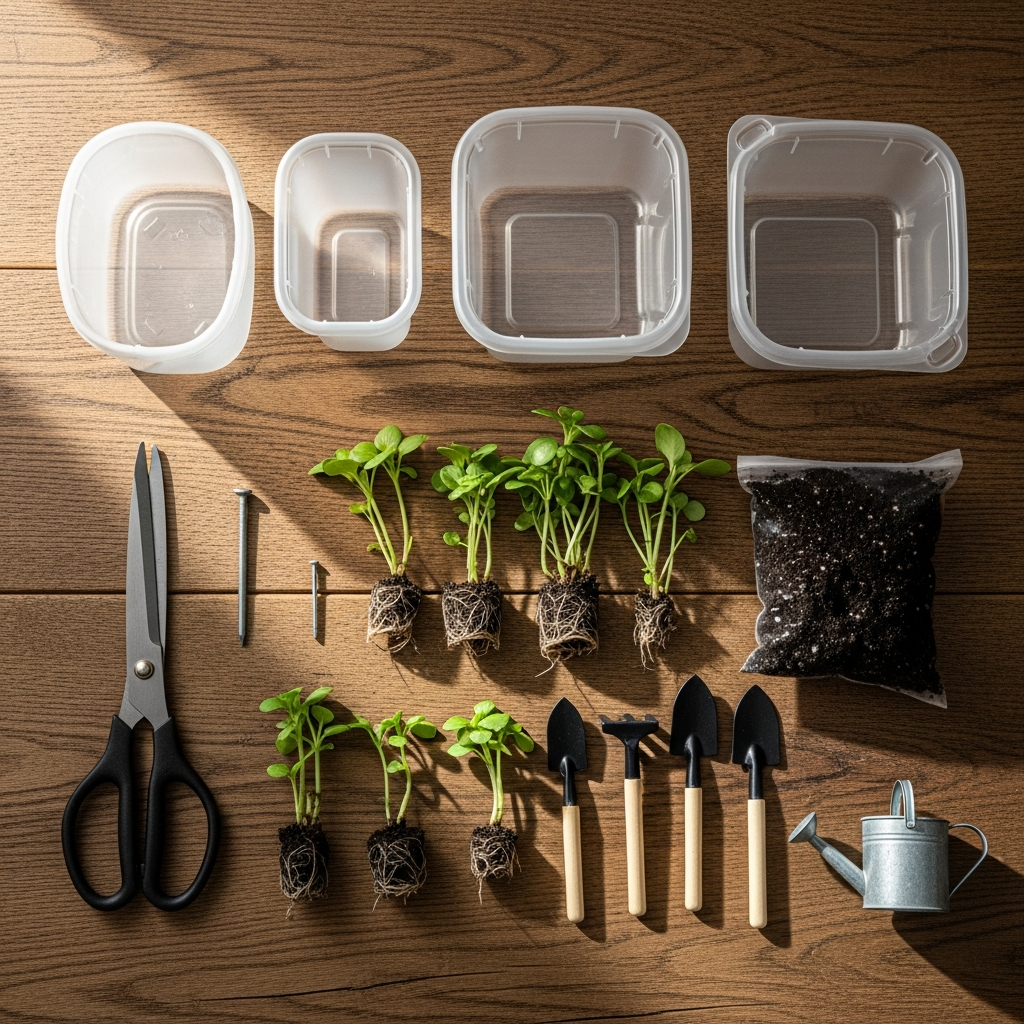
- Plastic containers (bottles, food tubs, buckets, jars, etc.)
- Scissors or a craft knife
- A nail or drill (for drainage holes)
- Potting soil
- Plants or seeds
- Acrylic paint or spray paint (optional)
- Brushes, markers, or decorative items (optional)
Step-by-Step: How to Make Plastic Container Planters
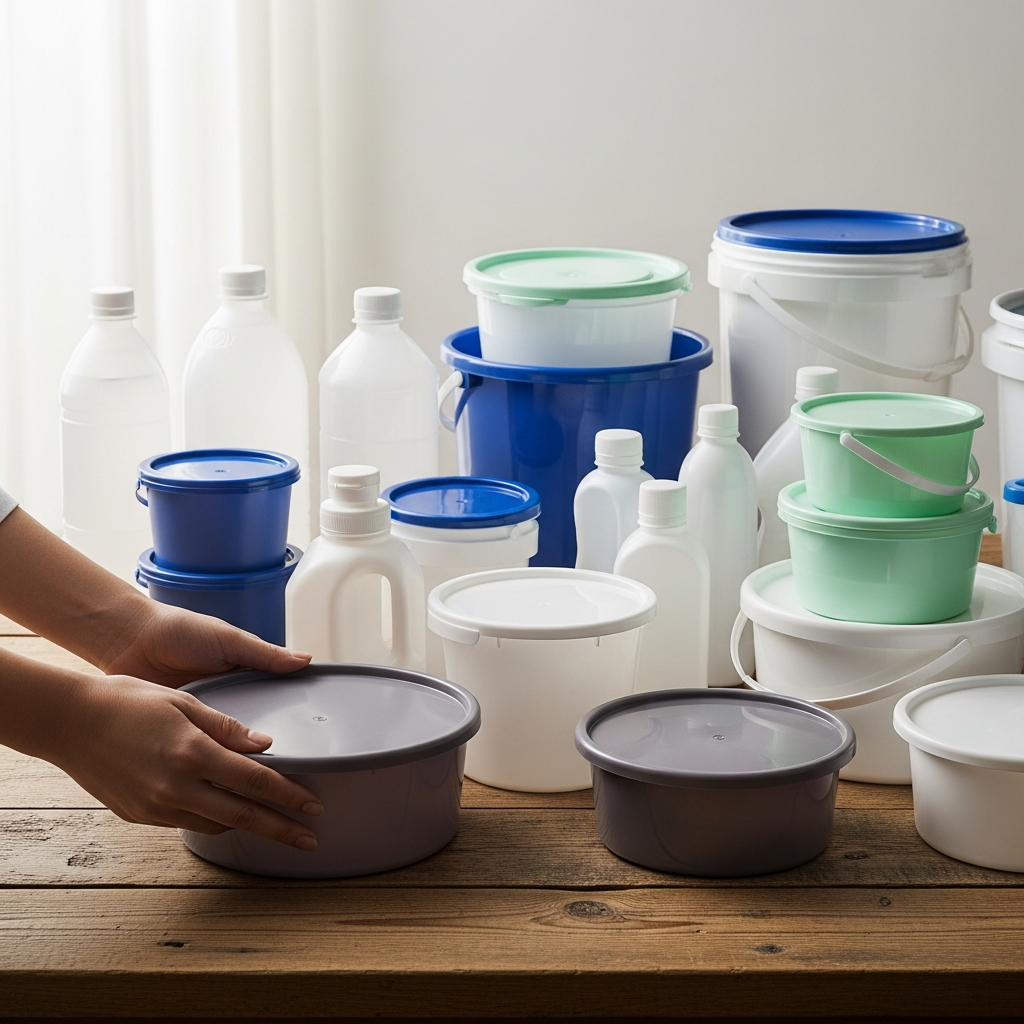
Step 1: Choose the Right Container
Pick a container based on the plant’s size and root depth. Small containers work well for herbs and succulents, while larger buckets are better for vegetables or flowers.
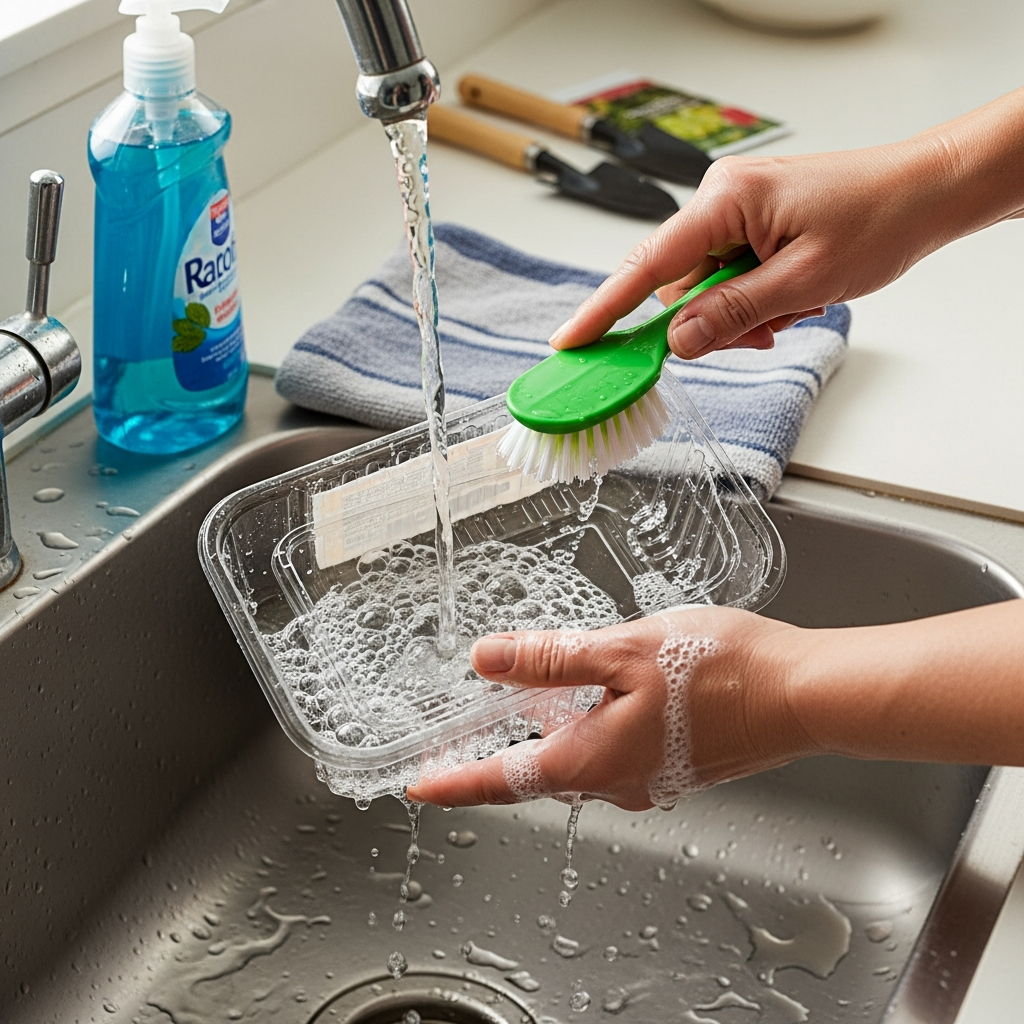
Step 2: Clean Thoroughly
Wash the container with soap and water to remove any food residue or labels. Let it dry completely.
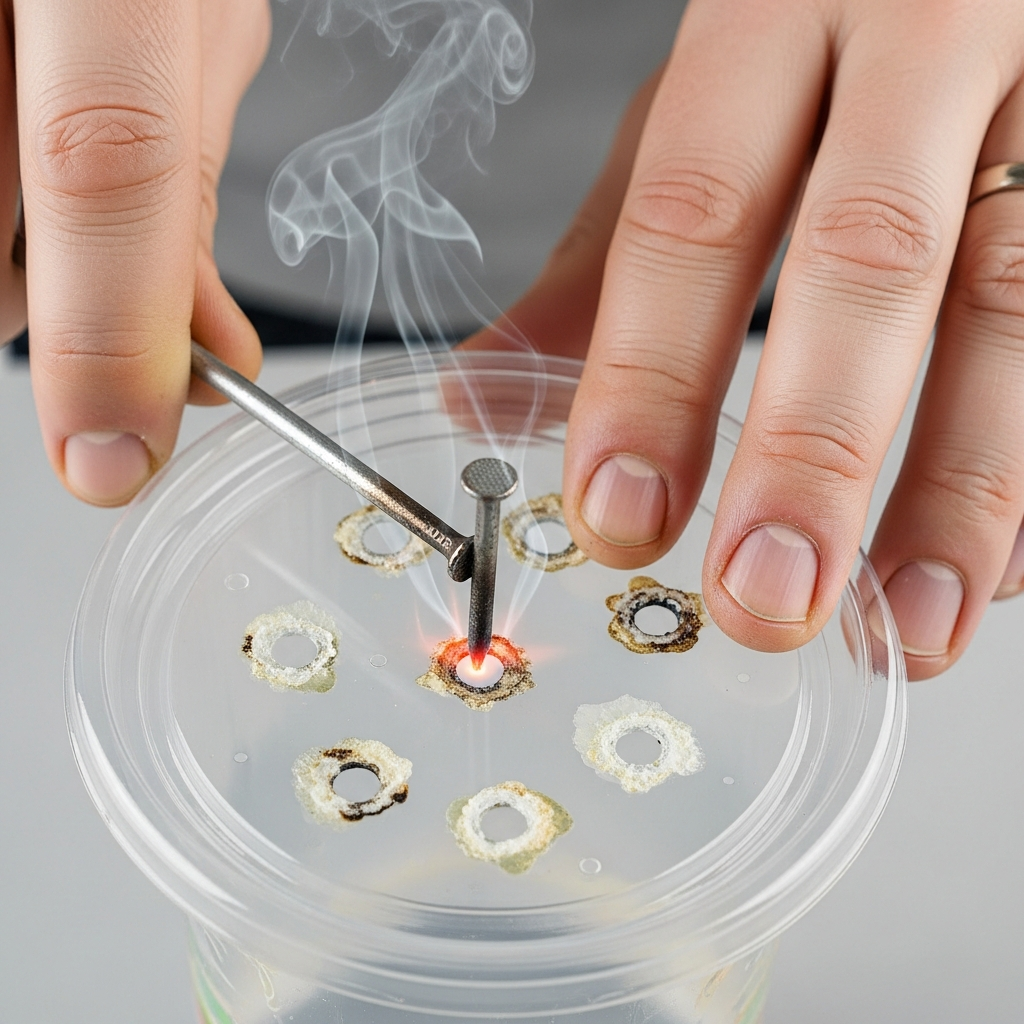
Step 3: Add Drainage Holes
Use a nail, screwdriver, or drill to make 2–4 small holes in the bottom. This prevents water from pooling and causing root rot.
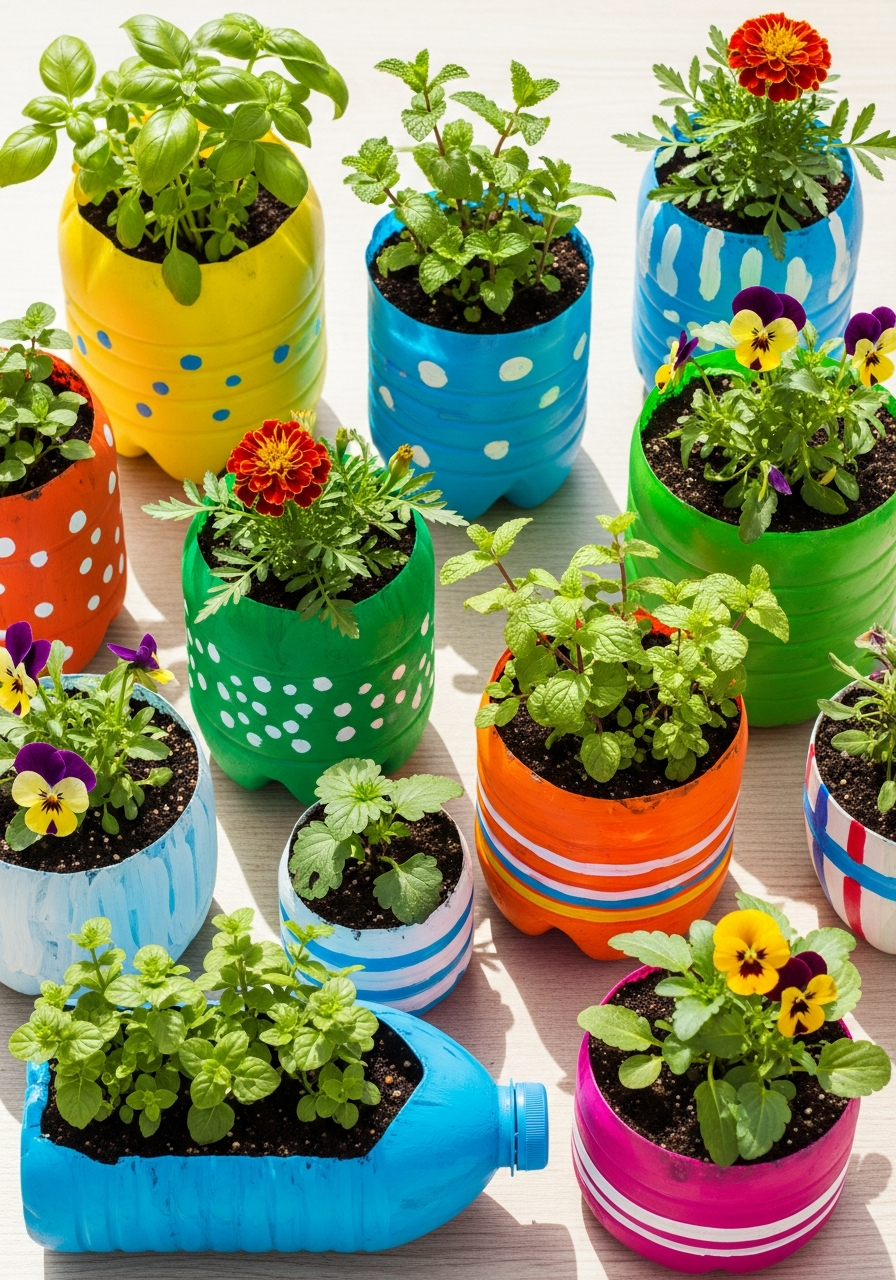
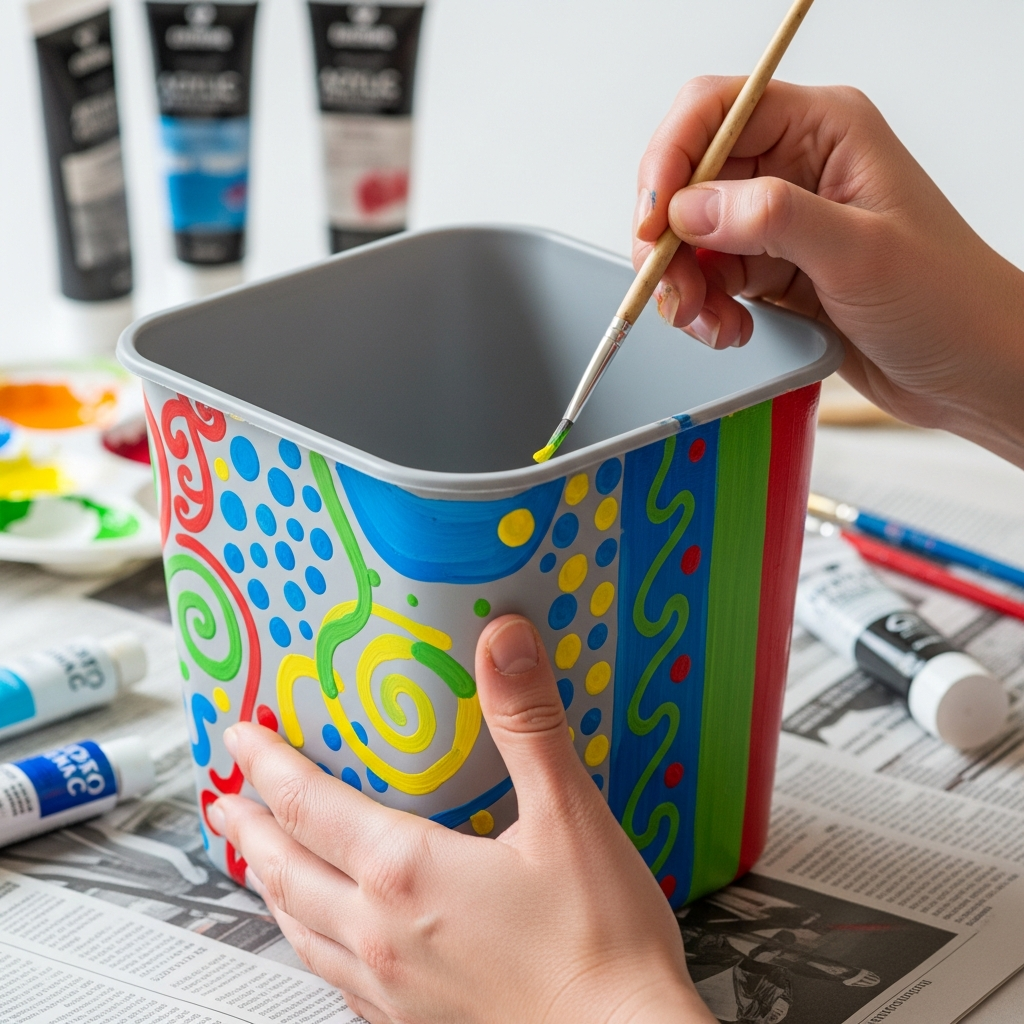
Step 4: Customize Your Planter (Optional)
Paint the container with acrylic or spray paint. You can add patterns, labels, or even wrap it with rope or fabric for a rustic look. Allow paint to dry fully.
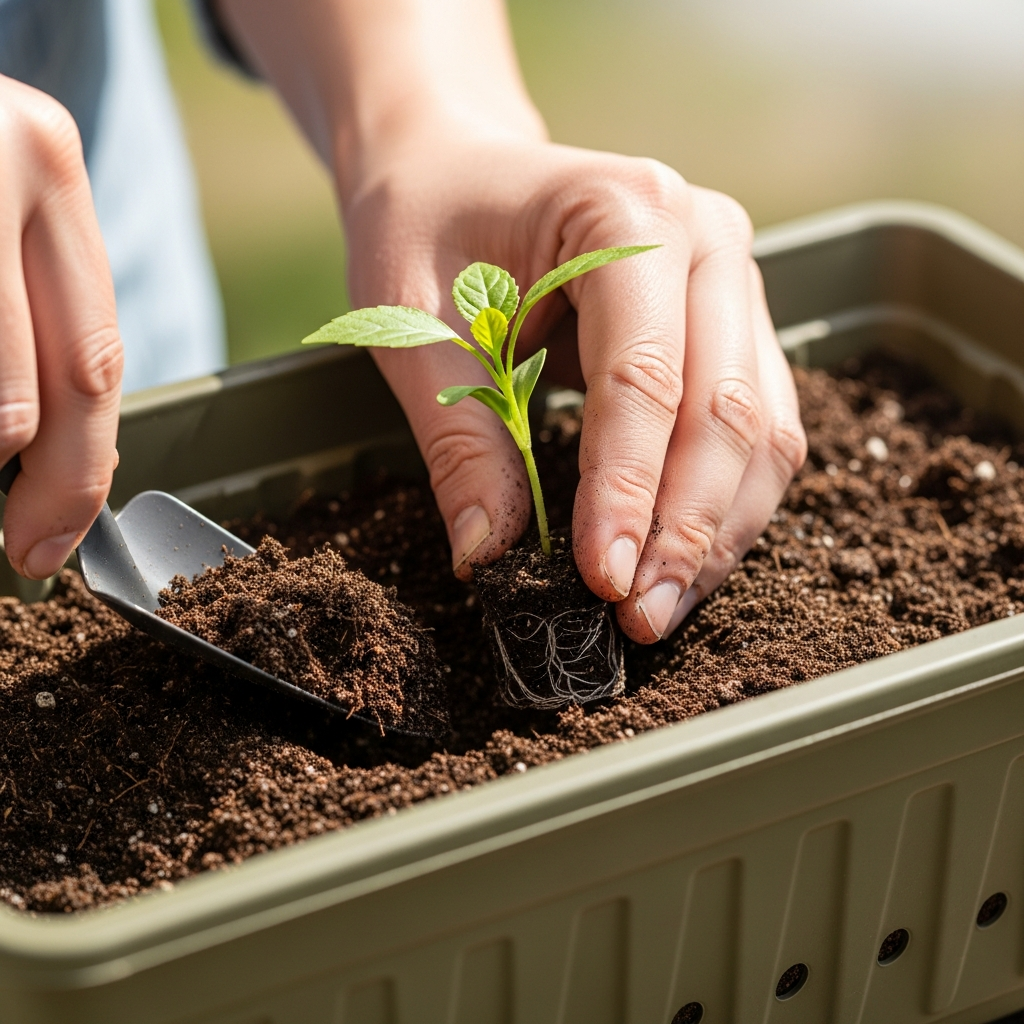
Step 5: Add Soil and Plant
Fill the container with potting soil, leaving space at the top. Plant your seeds or seedlings and gently pat the soil down.
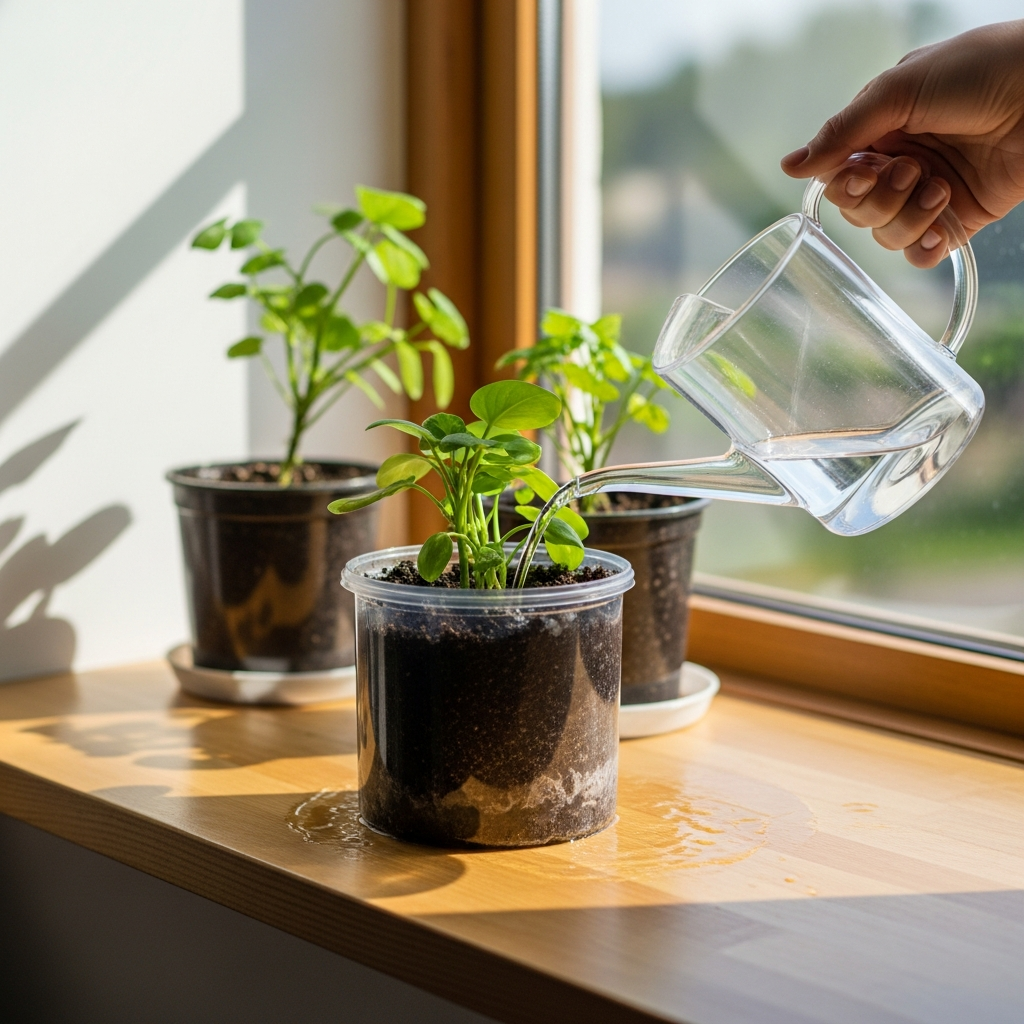
Step 6: Water and Place
Water lightly and place the planter in a spot that suits your plant’s light needs—sunny, shady, or indoors.
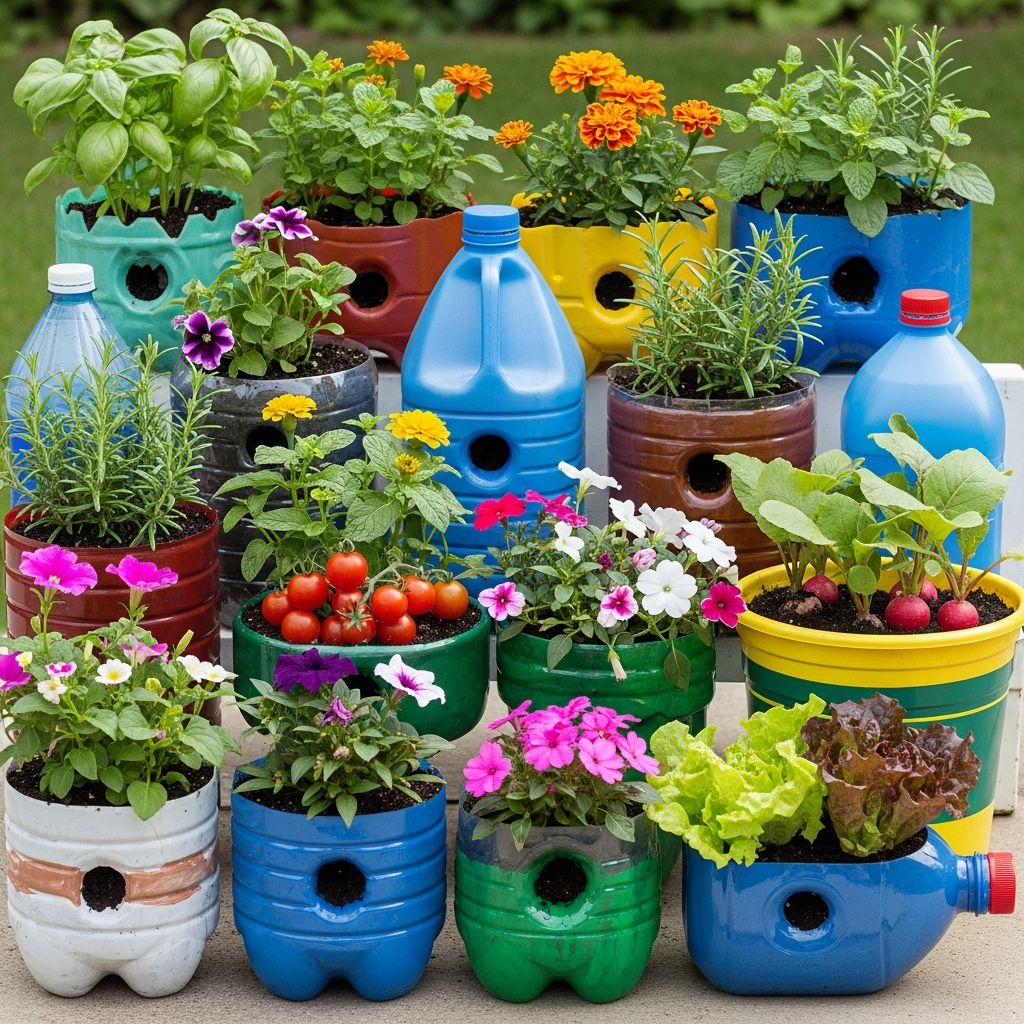
Creative Ideas for Plastic Container Planters
- Hanging bottle planters: Cut plastic bottles horizontally and hang them with string or wire.
- Self-watering planters: Use two bottles—one for soil and one for water.
- Vertical gardens: Attach multiple containers to a wall or fence.
- Animal-shaped planters: Cut and paint containers to resemble animals for kids’ spaces.
Best Plants for Plastic Container Planters
- Herbs: basil, mint, parsley, cilantro
- Succulents and cacti
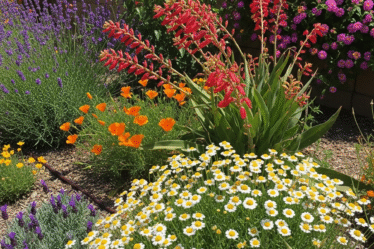
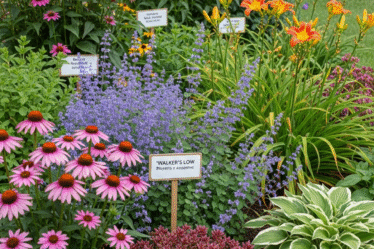
- Flowers: marigolds, petunias, pansies
- Small vegetables: lettuce, spinach, green onions
Final Thoughts
DIY plastic container planters are a simple and rewarding way to garden sustainably. Whether you’re decorating a small apartment or adding charm to your outdoor space, these planters prove that you don’t need fancy supplies to grow something beautiful.
So before throwing away that plastic container, think twice—it might just be your next planter 🌱