If you want to make a big impact in your garden, DIY large cement planters are the perfect project. These oversized planters are strong, weather-resistant, and ideal for anchoring outdoor spaces like patios, entryways, decks, and garden corners. Best of all, making them yourself costs far less than buying large concrete planters from a store.
With the right molds and techniques, even beginners can create professional-looking results.
Why Choose Large Cement Planters?
Large cement planters are:
- Extremely durable and long-lasting
- Perfect for outdoor use year-round
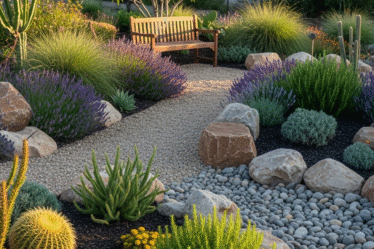
- Ideal for shrubs, small trees, and grasses
- Modern, rustic, or minimalist in style
- Much cheaper to DIY than to buy
They also provide stability, making them great for windy areas.
Supplies You’ll Need
- Cement or concrete mix (quick-set or standard)
- Large planter molds or containers
- Smaller inner container (to create planting space)
- Mixing tub or bucket
- Water
- Trowel or stir stick
- Cooking spray or mold release
- Gloves and mask (recommended)
- Sandpaper or concrete stone
- Optional: concrete pigment, sealant, rebar or wire mesh
Best Mold Ideas for Large Cement Planters
You can use:
- Large plastic storage bins
- Buckets, trash cans, or totes
- Cement mixing tubs
- Two containers (one large, one smaller)
- Custom wooden molds (for square or modern styles)
Tip: Thicker walls (at least 1.5–2 inches) prevent cracking in large planters.
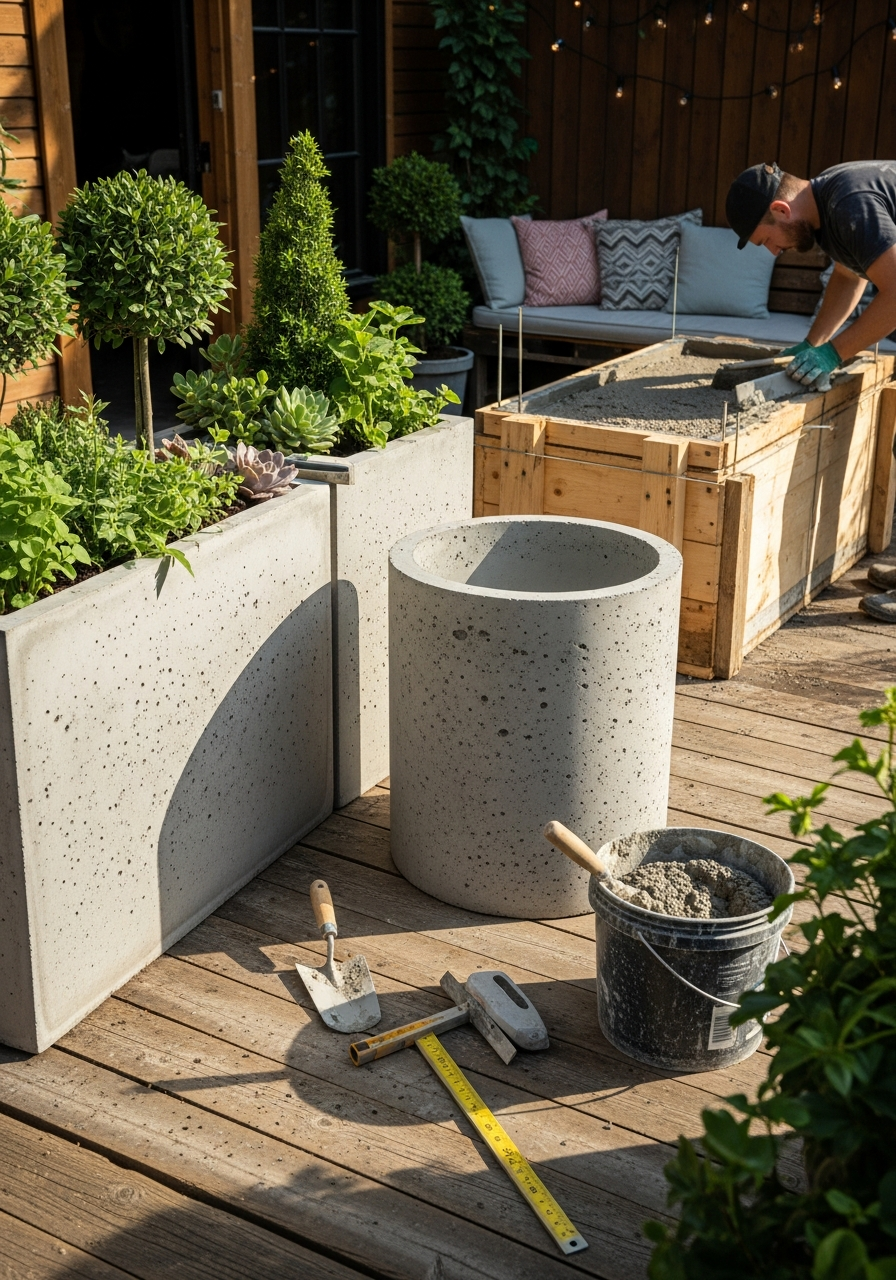
How to Make DIY Large Cement Planters
Step 1: Prepare the Mold
Spray the inside of the large mold and the outside of the inner mold with cooking spray or mold release.
Step 2: Mix the Cement
Mix cement with water until thick and workable—not runny. Large planters need a sturdier mix.
Step 3: Pour the Base
Pour cement into the mold to create the bottom layer (2–3 inches thick).
Step 4: Add Drainage
Insert a straw or PVC pipe section in the base to create a drainage hole.
Step 5: Insert the Inner Mold
Place the smaller container inside, centering it carefully. Weigh it down with bricks or stones.
Step 6: Fill the Sides
Pour cement around the sides, packing firmly and tapping the mold to remove air bubbles.
Step 7: Cure Slowly
Let cure for 48–72 hours. Large planters need extra curing time for strength.
Step 8: Demold Carefully
Remove molds slowly and allow the planter to fully cure for several days before planting.
Reinforcement Tips for Extra-Large Planters
- Add wire mesh or hardware cloth
- Use rebar for tall planters
- Avoid thin edges
- Keep planter evenly thick
Reinforcement helps prevent cracks over time.
Finishing & Styling Ideas
- Leave natural gray for a modern look
- Stain or paint with exterior masonry paint
- Add texture using sponges or fabric
- Seal for moisture and freeze protection
- Elevate with pot feet for drainage
Best Plants for Large Cement Planters
- Small trees (olive, citrus, ficus)
- Shrubs (boxwood, hydrangea)
- Ornamental grasses
- Tall flowers and mixed arrangements
- Evergreen plants
Large planters allow deeper root systems and better plant health.
Care & Outdoor Maintenance Tips
- Seal planters annually
- Elevate slightly off the ground
- Avoid freeze–thaw stress in winter
- Move planters before planting if needed (they get heavy!)
Final Thoughts
DIY large cement planters are perfect for gardeners who want bold, long-lasting outdoor décor. With minimal materials and a little patience, you can create oversized planters that look high-end, withstand the elements, and become stunning focal points in your space.
Big planters. Big style. Built to last 🪴🧱✨
Want More Cement & Garden DIY Ideas?
Follow us for budget-friendly outdoor projects, modern planter ideas, and creative garden inspiration.