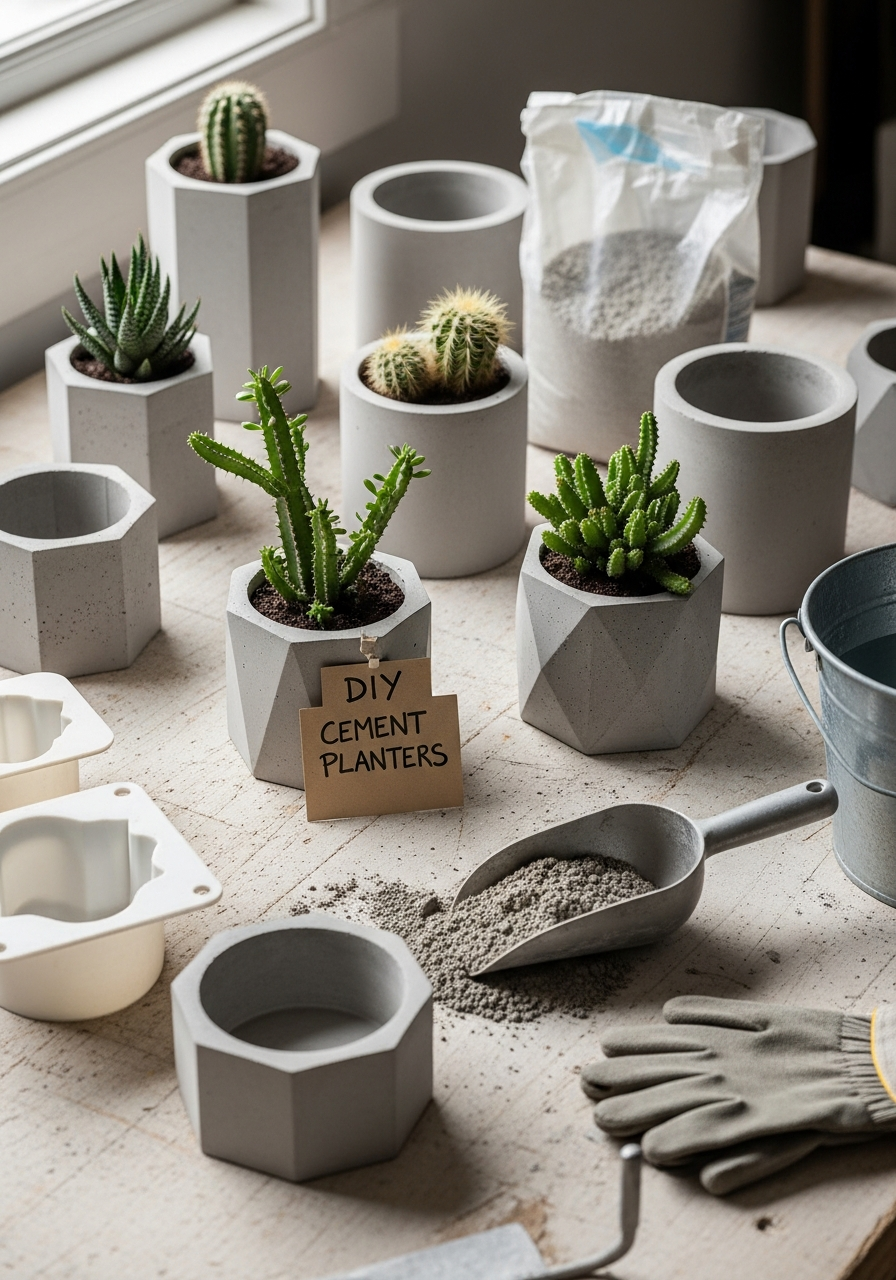
If you love modern garden décor and hands-on projects, DIY cement planters made with concrete molds are a must-try. These planters are sleek, durable, weather-resistant, and surprisingly easy to create—even for beginners. Best of all, you can customize the size, shape, and finish to match your style.
From minimalist succulents to bold statement planters, concrete molds make professional-looking results achievable at home.
Why Make Cement Planters with Concrete Molds?
DIY concrete planters are:
- Long-lasting and weatherproof
- Budget-friendly compared to store-bought versions
- Stylish and modern
- Customizable in size, shape, and color
- Perfect for indoor or outdoor use
Once you try one, you’ll want to make several.
Supplies You’ll Need
- Concrete or cement mix
- Concrete molds (silicone, plastic, or DIY molds)
- Mixing bucket
- Water
- Stir stick or trowel
- Cooking spray or mold release
- Sandpaper
- Optional: gloves, pigment, sealant
Choosing the Right Concrete Mold
You can use:
- Silicone concrete molds (easiest to release)
- Plastic planter molds
- Household containers (bowls, cups, buckets)
- DIY molds made from cardboard or plastic containers
Tip: Use two containers—one larger, one smaller—to create the planter cavity.
How to Make DIY Cement Planters
- Prepare the mold
Spray the inside of the mold with cooking spray or mold release. - Mix the cement
Combine cement mix and water until it reaches a thick, pourable consistency (like pancake batter). - Pour the base layer
Pour cement into the mold to form the bottom of the planter. - Insert the inner mold
Press the smaller mold into the center to create the planting space. Weigh it down if needed. - Fill the sides
Pour cement around the inner mold until desired thickness is reached. - Tap to remove air bubbles
Gently tap or shake the mold to release trapped air. - Let it cure
Allow the cement to cure for 24–48 hours (or per package instructions). - Demold carefully
Remove the mold slowly once fully set.
Adding Drainage Holes
- Insert a straw or dowel before curing
- OR drill a hole after curing using a masonry bit
Drainage is especially important for outdoor planters.
Finishing & Styling Ideas
- Sand rough edges for a smooth finish
- Leave natural gray for a minimalist look
- Add concrete pigment for color
- Paint or stencil designs
- Seal for indoor use or glossy finish
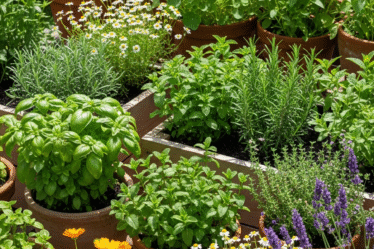
Best Plants for Cement Planters
- Succulents and cacti
- Snake plants
- Herbs (basil, thyme, rosemary)
- Small flowers
- Indoor houseplants
Concrete planters pair especially well with greenery.
Care & Maintenance Tips
- Seal planters for indoor use to prevent moisture seepage
- Avoid freezing temperatures during curing
- Use pot feet outdoors for drainage and airflow
- Clean with mild soap and water
Final Thoughts
DIY cement planters using concrete molds are a perfect blend of creativity, durability, and modern design. Whether you’re decorating a patio, balcony, or indoor space, these planters deliver a high-end look without the high-end price.
Simple materials. Endless designs. Timeless style 🪴🧱✨
Want More DIY Planter & Garden Ideas?
Follow us for budget-friendly garden projects, modern DIY décor, and creative outdoor inspiration.