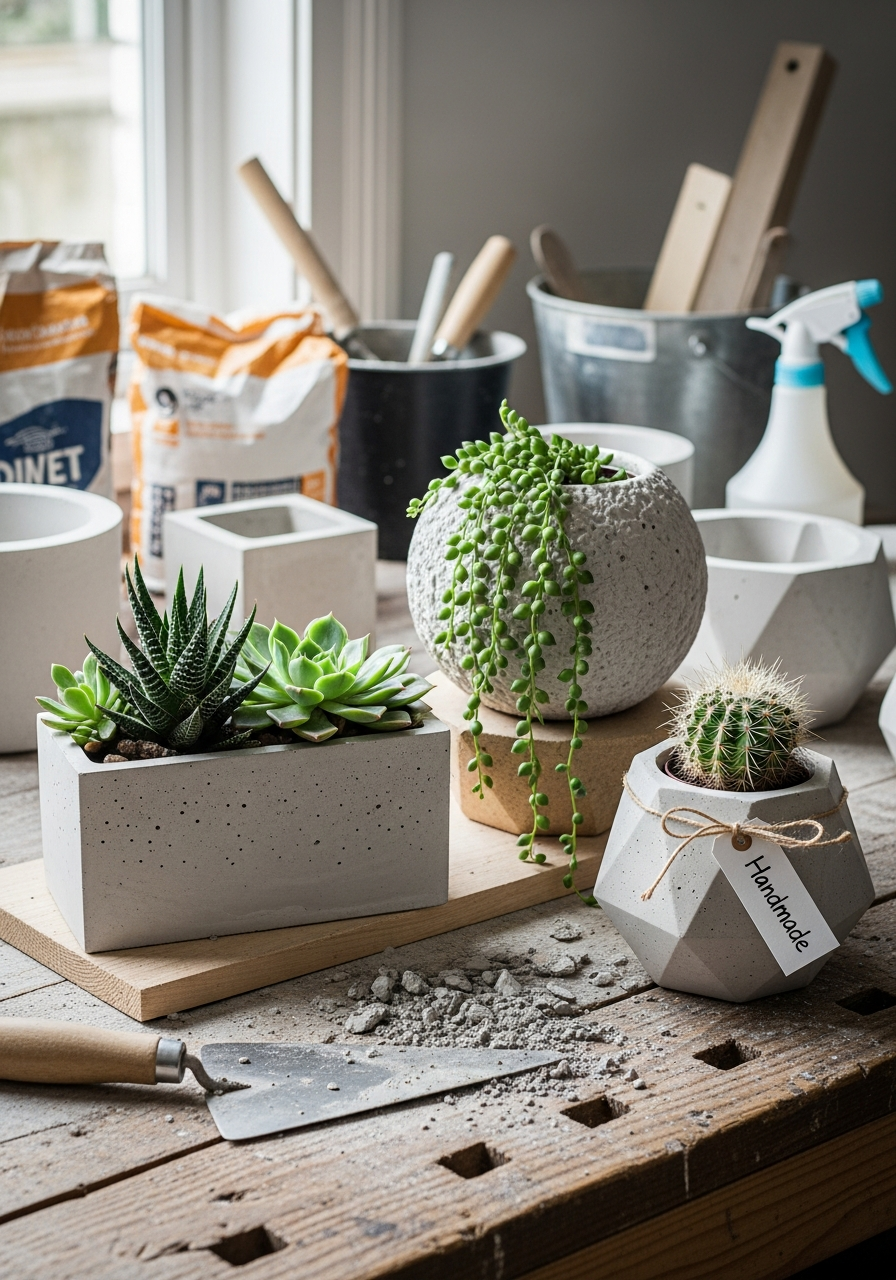
If you love modern, minimalist décor with a handmade touch, DIY cement planters and pots are the perfect project. These planters are strong, weather-resistant, and endlessly customizable—making them ideal for indoor plants, patios, balconies, and gardens.
Best of all, you don’t need special skills or expensive tools to get professional-looking results.
Why Make Your Own Cement Planters and Pots?
DIY cement planters are:
- Durable and long-lasting
- Budget-friendly compared to store-bought pots
- Suitable for indoor and outdoor use
- Customizable in size, shape, and finish
- Modern, rustic, or industrial in style
Once you make one, you’ll likely want to make several.
Supplies You’ll Need
- Cement or concrete mix
- Planter molds (silicone, plastic, or DIY containers)
- Smaller inner container (to create the pot cavity)
- Mixing bucket
- Water
- Stir stick or trowel
- Cooking spray or mold release
- Sandpaper
- Optional: gloves, concrete pigment, sealant
Mold Ideas for Cement Planters & Pots
You can use:
- Silicone concrete molds (easiest for beginners)
- Plastic flower pots
- Bowls, cups, or food containers
- Buckets or storage bins (for larger pots)
- Two containers (one inside the other)
Tip: Choose smooth containers for a clean, modern finish.
How to Make DIY Cement Planters and Pots
Step 1: Prepare the Mold
Spray the inside of the outer mold and the outside of the inner mold with cooking spray or mold release.
Step 2: Mix the Cement
Mix cement and water until you get a thick, smooth consistency—similar to pancake batter.
Step 3: Pour the Base
Pour cement into the mold to form the base of the pot (about 1–2 inches thick).
Step 4: Add Drainage
Insert a straw, dowel, or small PVC pipe into the base to create a drainage hole.
Step 5: Insert the Inner Mold
Place the smaller container in the center to form the planting cavity. Add weight if needed.
Step 6: Fill the Sides
Pour cement around the inner mold and gently tap the sides to release air bubbles.
Step 7: Cure
Allow the planter to cure for 24–48 hours (longer for larger pots).
Step 8: Demold & Finish
Carefully remove molds and sand rough edges for a smooth finish.
Finishing & Decorating Cement Pots
- Leave natural gray for a minimalist look
- Add concrete pigment for subtle color
- Paint with exterior paint for bold designs
- Use stencils or texture mats
- Seal for indoor use or added durability
Best Plants for Cement Planters & Pots
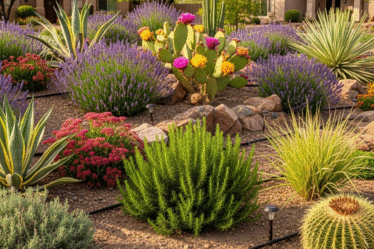
- Succulents and cacti
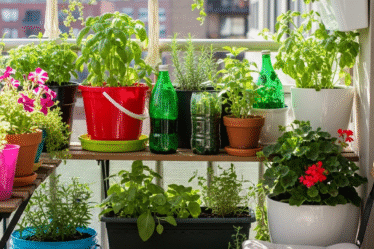
- Herbs (basil, rosemary, thyme)
- Snake plants and pothos
- Flowers like petunias or geraniums
- Small shrubs (for larger pots)
Cement pairs beautifully with greenery and textured plants.
Care & Maintenance Tips
- Always use drainage holes
- Elevate outdoor pots slightly for airflow
- Seal planters for indoor use
- Protect from extreme freeze–thaw cycles
- Reseal annually for outdoor longevity
Final Thoughts
DIY cement planters and pots are a perfect blend of creativity, durability, and modern style. With simple materials and a bit of patience, you can create custom planters that look high-end, last for years, and showcase your plants beautifully.
Handmade. Timeless. Built to last 🪴🧱✨
Want More DIY Planter & Garden Ideas?
Follow us for budget-friendly garden projects, modern DIY décor, and creative outdoor inspiration.