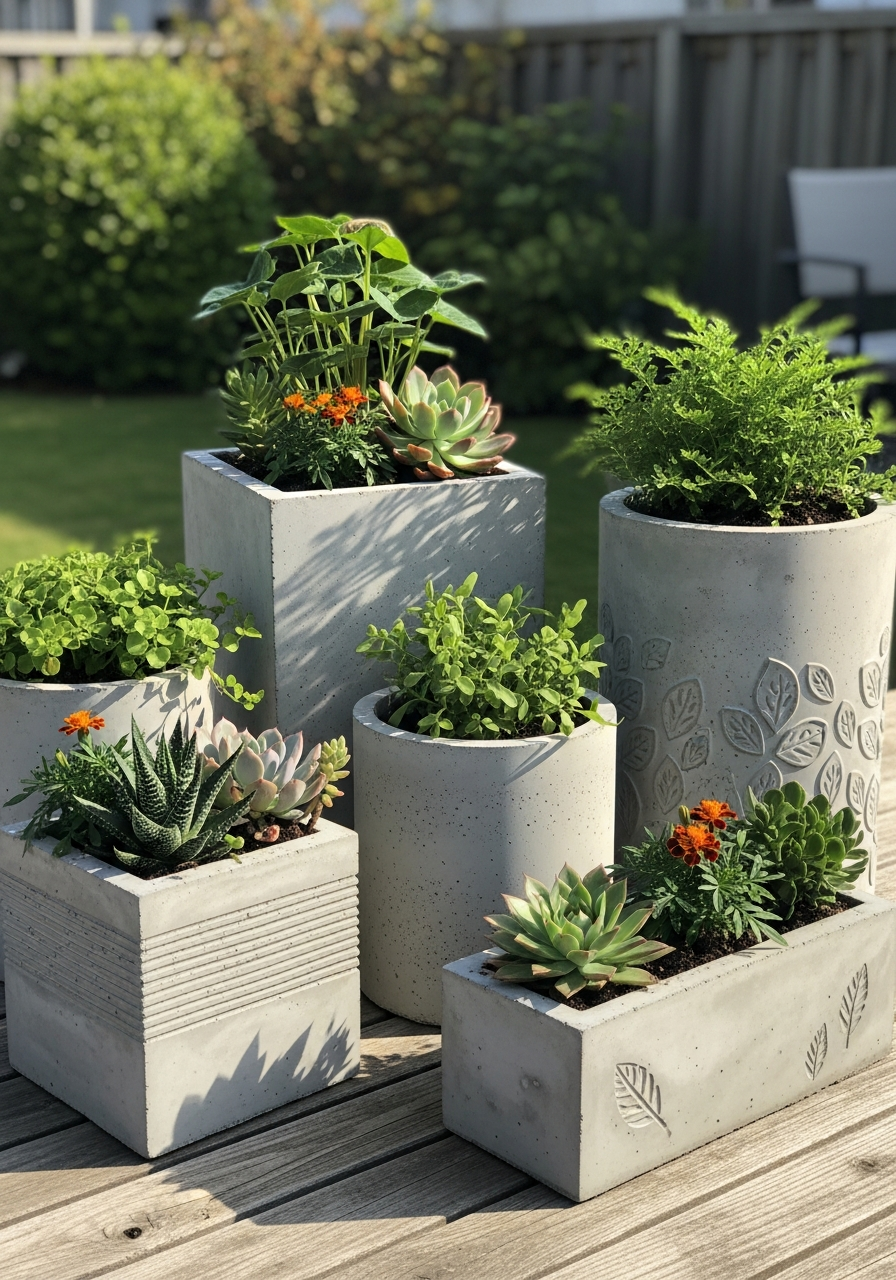
If you’re looking for planters that can handle sun, rain, and changing seasons, DIY outdoor cement planters are the perfect solution. Concrete planters are strong, weather-resistant, and endlessly customizable—making them ideal for gardens, patios, porches, and walkways.

Best of all, they’re surprisingly easy to make, even if you’ve never worked with cement before.


Why Choose Cement Planters for Outdoor Spaces?

Outdoor cement planters are:

  • Extremely durable and long-lasting
  • Weather-resistant in all seasons
  • Budget-friendly compared to store-bought planters
  • Modern, rustic, or minimalist in style
  • Customizable in size, shape, and color

They’re perfect for both decorative plants and functional landscaping.


Supplies You’ll Need

DIY cement planter supplies
  • Cement or concrete mix
  • Planter molds (silicone, plastic, or DIY containers)
  • Mixing bucket
  • Water
  • Stir stick or trowel
  • Cooking spray or mold release
  • Gloves (recommended)
  • Sandpaper
  • Optional: concrete pigment, sealant

Choosing the Right Mold for Outdoor Cement Planters

Concrete planter molds

You can use:

  • Silicone concrete molds (easiest to remove)
  • Plastic pots or containers
  • Buckets, bowls, or storage bins
  • DIY molds using two containers (one inside the other)

Tip: Use thick walls for outdoor planters to prevent cracking.


How to Make DIY Cement Planters for Outdoors

Pouring cement into outdoor planter mold

Step 1: Prepare the Mold

Coat the inside of the mold with cooking spray or mold release.

Step 2: Mix the Cement

Mix cement with water until it reaches a thick, smooth consistency—similar to pancake batter.

Step 3: Pour the Base

Pour cement into the mold to create the bottom of the planter.

Step 4: Insert the Inner Mold

Place a smaller container in the center to form the planting cavity. Weigh it down if needed.

Step 5: Fill the Sides

Pour cement around the inner mold. Tap the mold gently to release air bubbles.

Step 6: Cure

Allow the planter to cure for 24–48 hours (or per cement instructions).

Step 7: Demold & Sand

Carefully remove the molds and sand rough edges.


Adding Drainage for Outdoor Planters

Drilling drainage hole in cement planter

Drainage is essential for outdoor planters:

  • Insert a straw or dowel before curing
  • OR drill a hole after curing using a masonry bit

Proper drainage prevents root rot and standing water.


Styling Ideas for Outdoor Cement Planters

Finished outdoor cement planters
  • Leave natural gray for a modern look
  • Paint with exterior paint for color
  • Add texture using sponges or molds
  • Group planters in sets of three
  • Use varying heights for visual interest

Best Plants for Outdoor Cement Planters

  • Flowers: petunias, geraniums, marigolds
  • Succulents and cacti
  • Herbs: rosemary, thyme, basil
  • Ornamental grasses
  • Small shrubs

Concrete pairs beautifully with greenery and bold blooms.


Care & Weather Tips

  • Seal planters to protect against moisture
  • Elevate slightly with pot feet for drainage
  • Bring indoors during extreme freeze-thaw cycles
  • Reseal annually for longevity

Final Thoughts

DIY cement planters for outdoor use are a perfect mix of strength, style, and creativity. Whether you want sleek modern containers or rustic garden accents, concrete planters offer endless design possibilities and long-term durability.

Strong, stylish, and made by you 🪴🧱✨


Want More DIY Garden & Planter Ideas?

Follow us for budget-friendly garden projects, modern DIY décor, and creative outdoor inspiration.