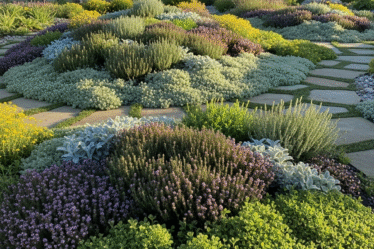
Companion planting is one of the most effective ways to design a healthy, productive garden bed—but it works best when you follow a clear plan. Instead of guessing which plants go where, a step-by-step approach helps you maximize space, reduce pests naturally, and grow stronger crops. In this guide, you’ll learn step-by-step companion planting garden bed layout plans that are easy to follow and suitable for beginners and experienced gardeners alike.
What Is Companion Planting?
Companion planting is the practice of growing compatible plants together so they benefit one another. These benefits may include pest control, improved growth, better soil health, or higher yields.
Benefits of Companion Planting
- Fewer pests without chemicals
- Healthier plants and stronger growth
- Better use of garden space
- Improved soil fertility
- Higher and more consistent harvests
A step-by-step layout ensures these benefits actually work in your garden.
Step 1: Assess Your Garden Bed
Before planting anything, understand your garden bed conditions.
- Measure the bed size (common sizes: 4×4 ft or 4×8 ft)
- Observe sunlight (most vegetables need 6–8 hours daily)
- Check soil quality and drainage
- Note wind exposure and nearby structures
Knowing these basics helps you choose the right plants and layout.
Step 2: Choose Your Main Crops
Start with the vegetables you want to grow most.
Popular Main Crops
- Tomatoes
- Peppers
- Cucumbers
- Lettuce and leafy greens
- Carrots
These main crops will guide your companion planting choices.
Step 3: Select Companion Plants
Choose plants that support your main crops.
Common Companion Plants
- Herbs: basil, chives, dill, oregano
- Flowers: marigolds, nasturtiums, calendula
- Soil builders: beans and peas
Companion plants help repel pests, attract pollinators, and improve soil health.
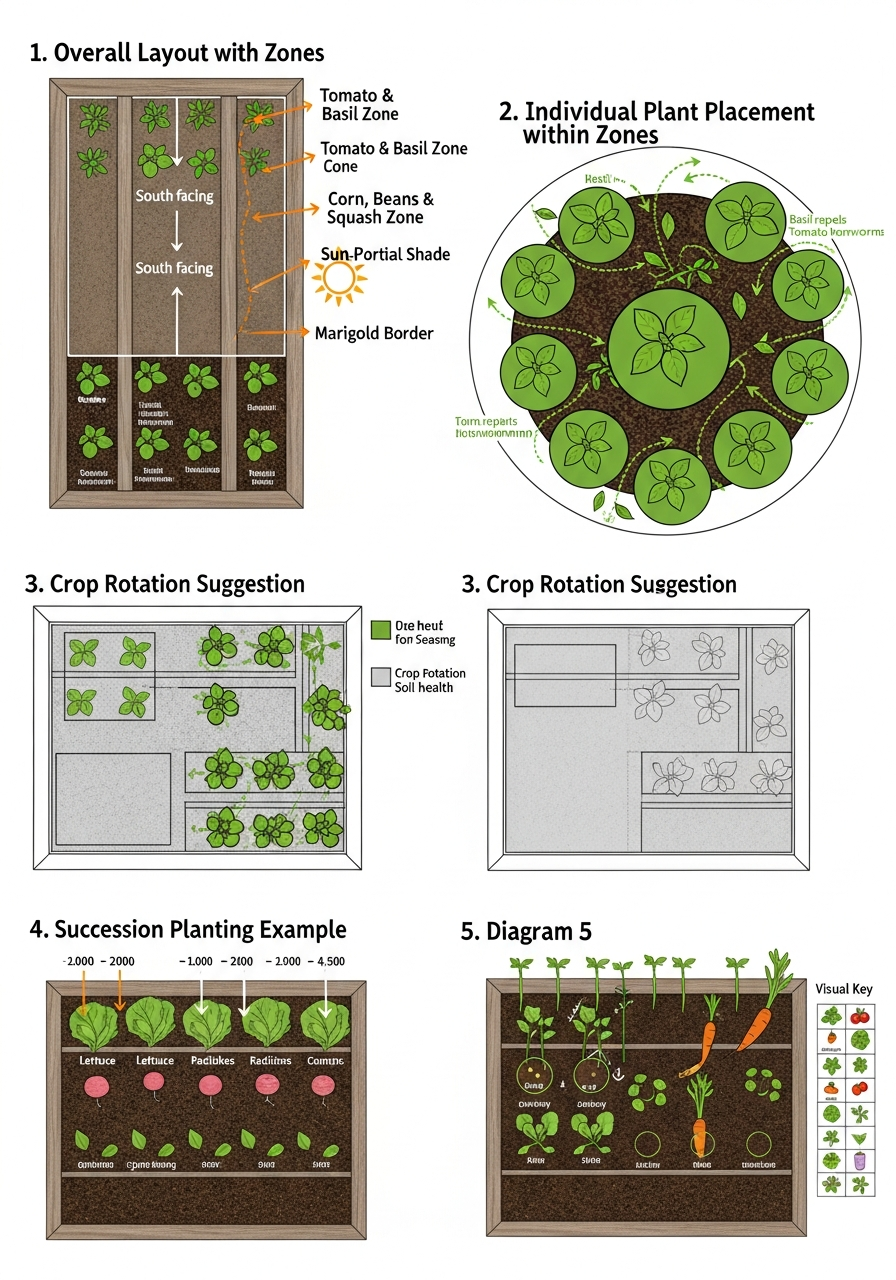
Step 4: Plan Plant Placement
Now design the actual garden bed layout.
Placement Rules
- Place taller plants on the north side of the bed
- Medium-height plants go in the center
- Low-growing plants and herbs go toward the edges
- Leave enough space for mature plant size
This structure improves sunlight exposure and airflow.
Step 5: Choose a Companion Planting Layout Style
Select a layout style that fits your space.
Layout Options
- Block planting: Crops grown in blocks instead of rows
- Square foot gardening: Dividing the bed into small sections
- Mixed companion layout: Grouping compatible plants naturally
Each style works well when paired with companion planting.
Step 6: Example Step-by-Step Garden Bed Layout
Sample 4×8 Companion Planting Bed
- North side: Tomatoes with basil and marigolds
- Middle section: Peppers and onions
- South side: Lettuce, spinach, and radishes
- Edges: Chives, parsley, or dill
This layout balances sunlight, pest control, and space efficiency.
Step 7: Check for Incompatible Plant Pairings
Before planting, double-check that no incompatible plants are placed together.
Avoid These Combinations
- Tomatoes and potatoes
- Onions and beans
- Cucumbers and sage
- Fennel with most vegetables
Separating these crops helps prevent disease and poor growth.
Step 8: Prepare Soil and Plant
- Mix compost into the soil
- Water the bed before planting
- Plant according to spacing guidelines
- Mulch lightly to retain moisture
Healthy soil supports successful companion planting.
Step 9: Maintain Your Companion-Planted Garden Bed
- Water consistently
- Monitor plants for pests
- Trim and harvest regularly
- Rotate crops each season
Maintenance keeps the layout productive all season long.
Common Mistakes to Avoid
- Overcrowding plants
- Ignoring mature plant size
- Skipping layout planning
- Forgetting crop rotation
Following each step carefully helps avoid these problems.
Final Thoughts: Simple Steps, Better Gardens
Using step-by-step companion planting garden bed layout plans removes the guesswork from gardening. By assessing your space, choosing compatible plants, and placing them strategically, you can create a healthier, more productive garden bed that works with nature instead of against it.
Take it one step at a time—and enjoy the results.
Happy gardening!